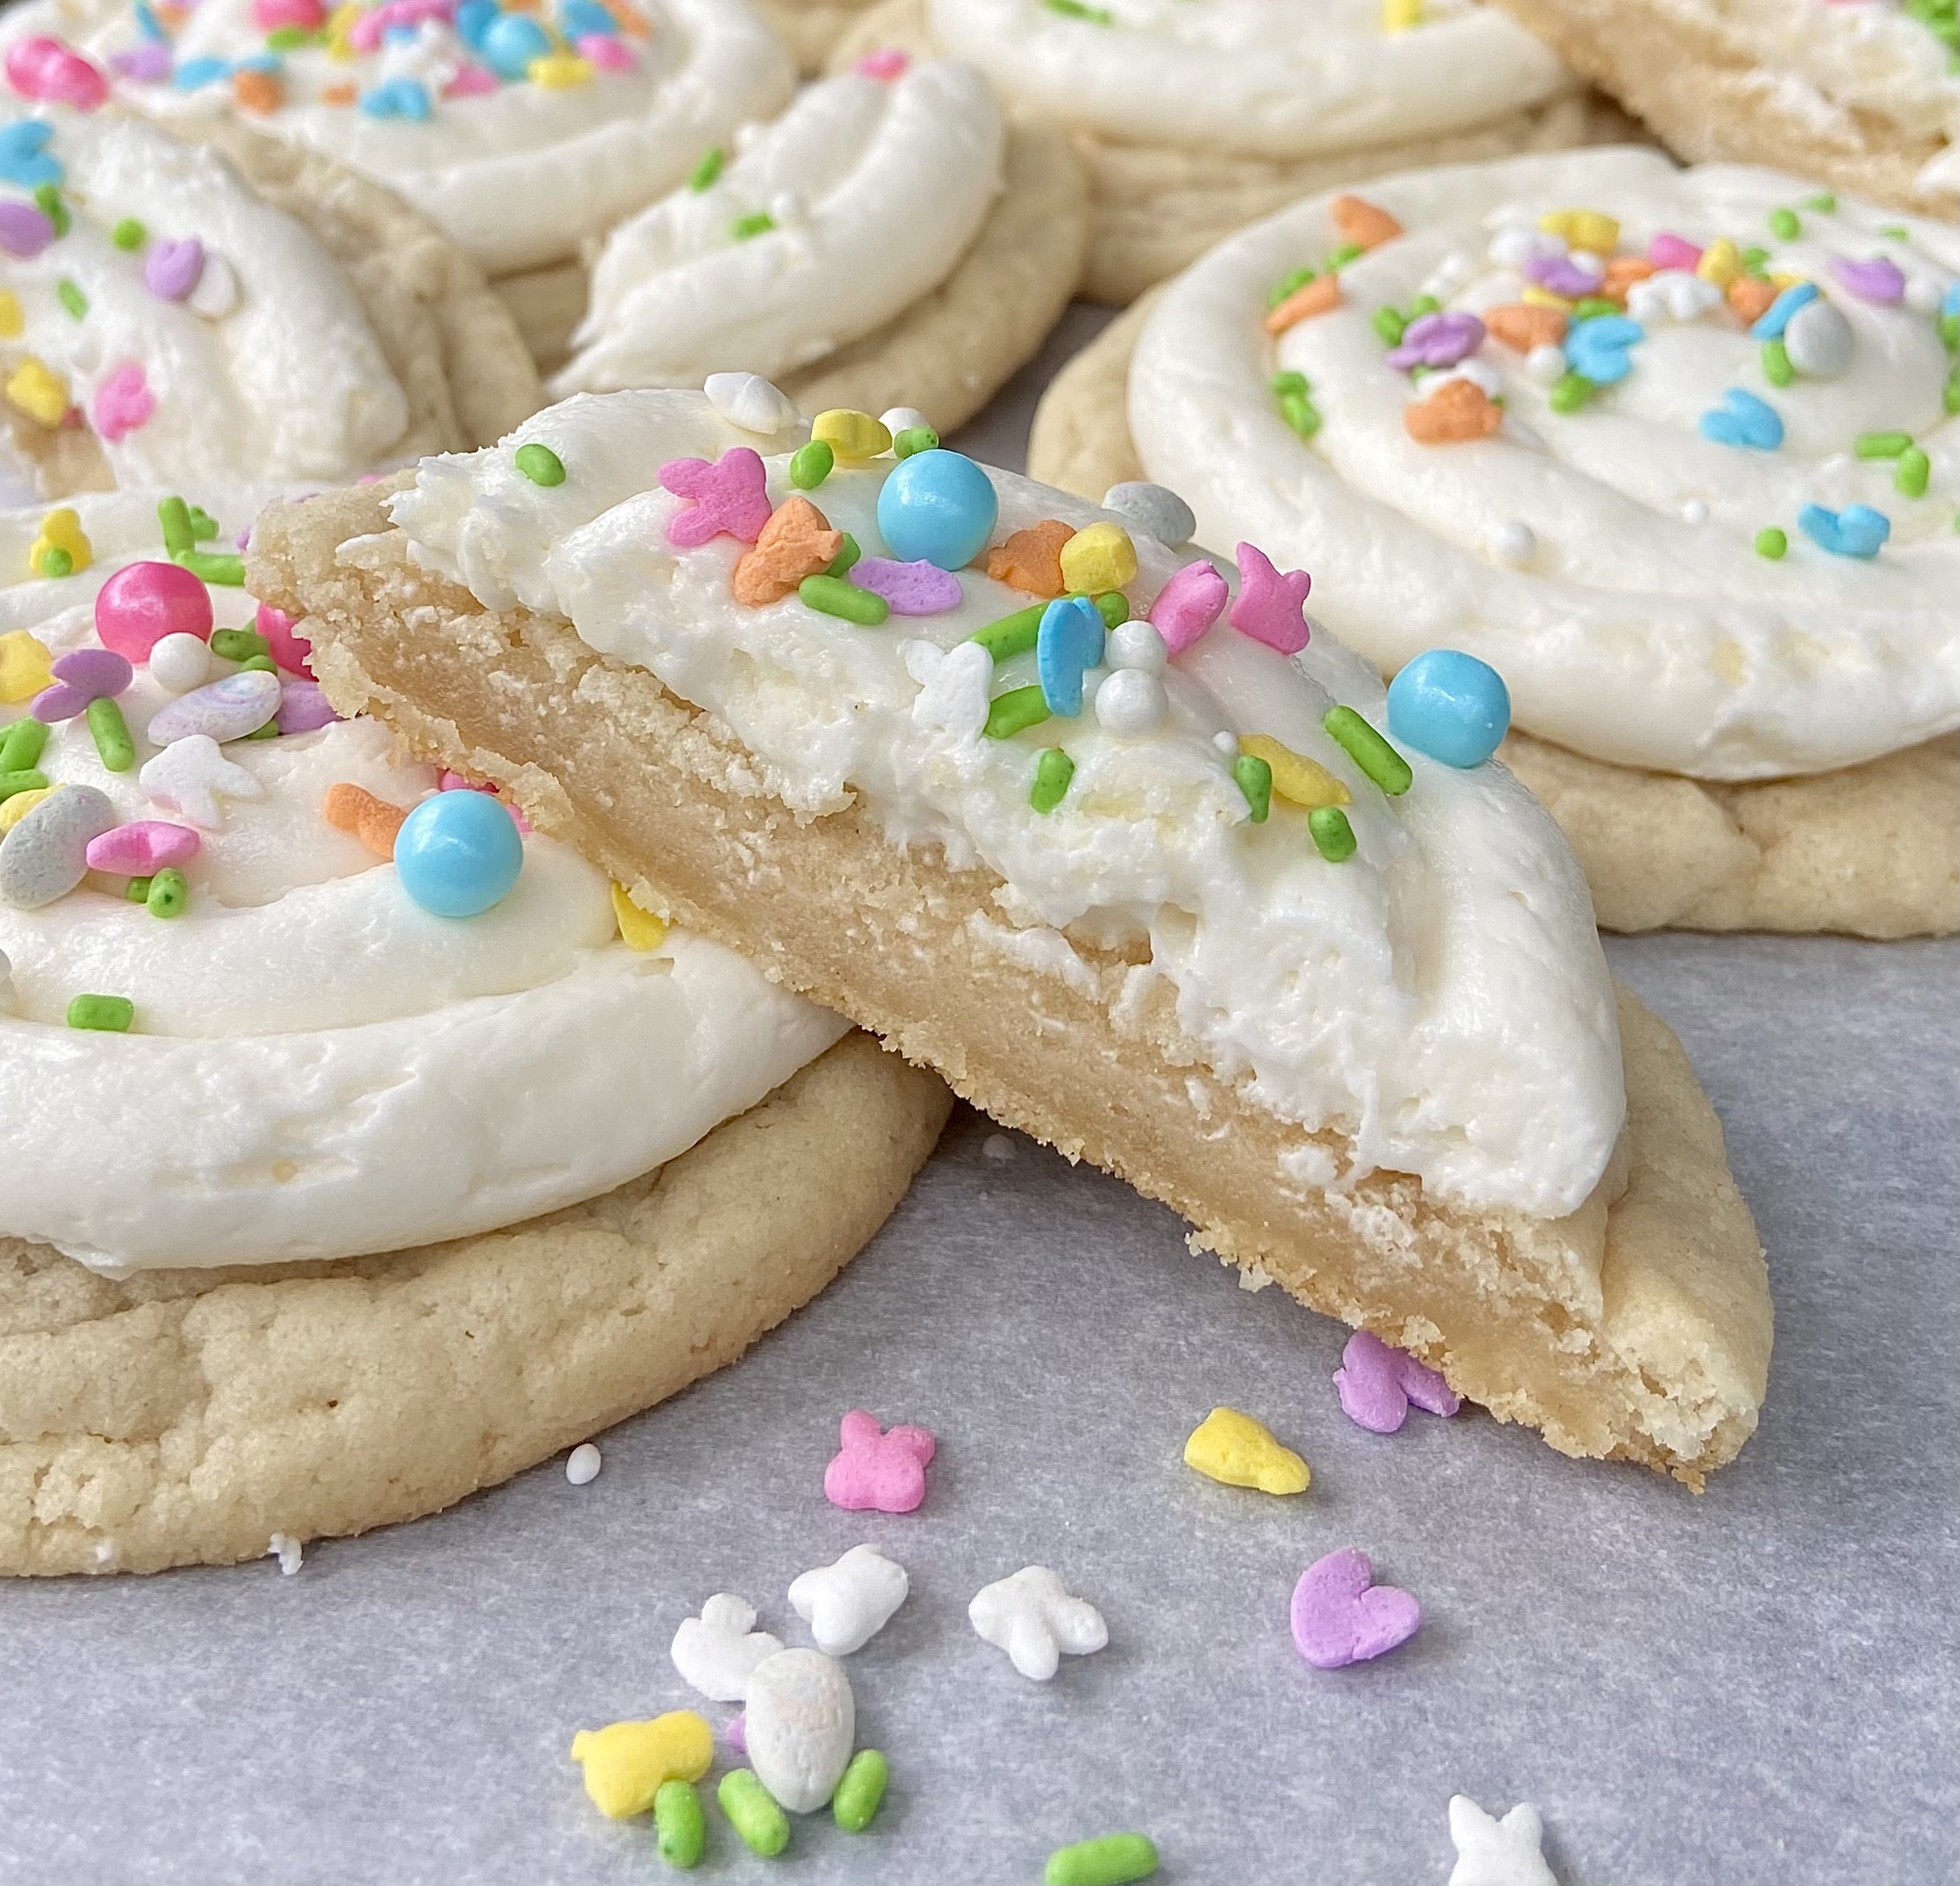
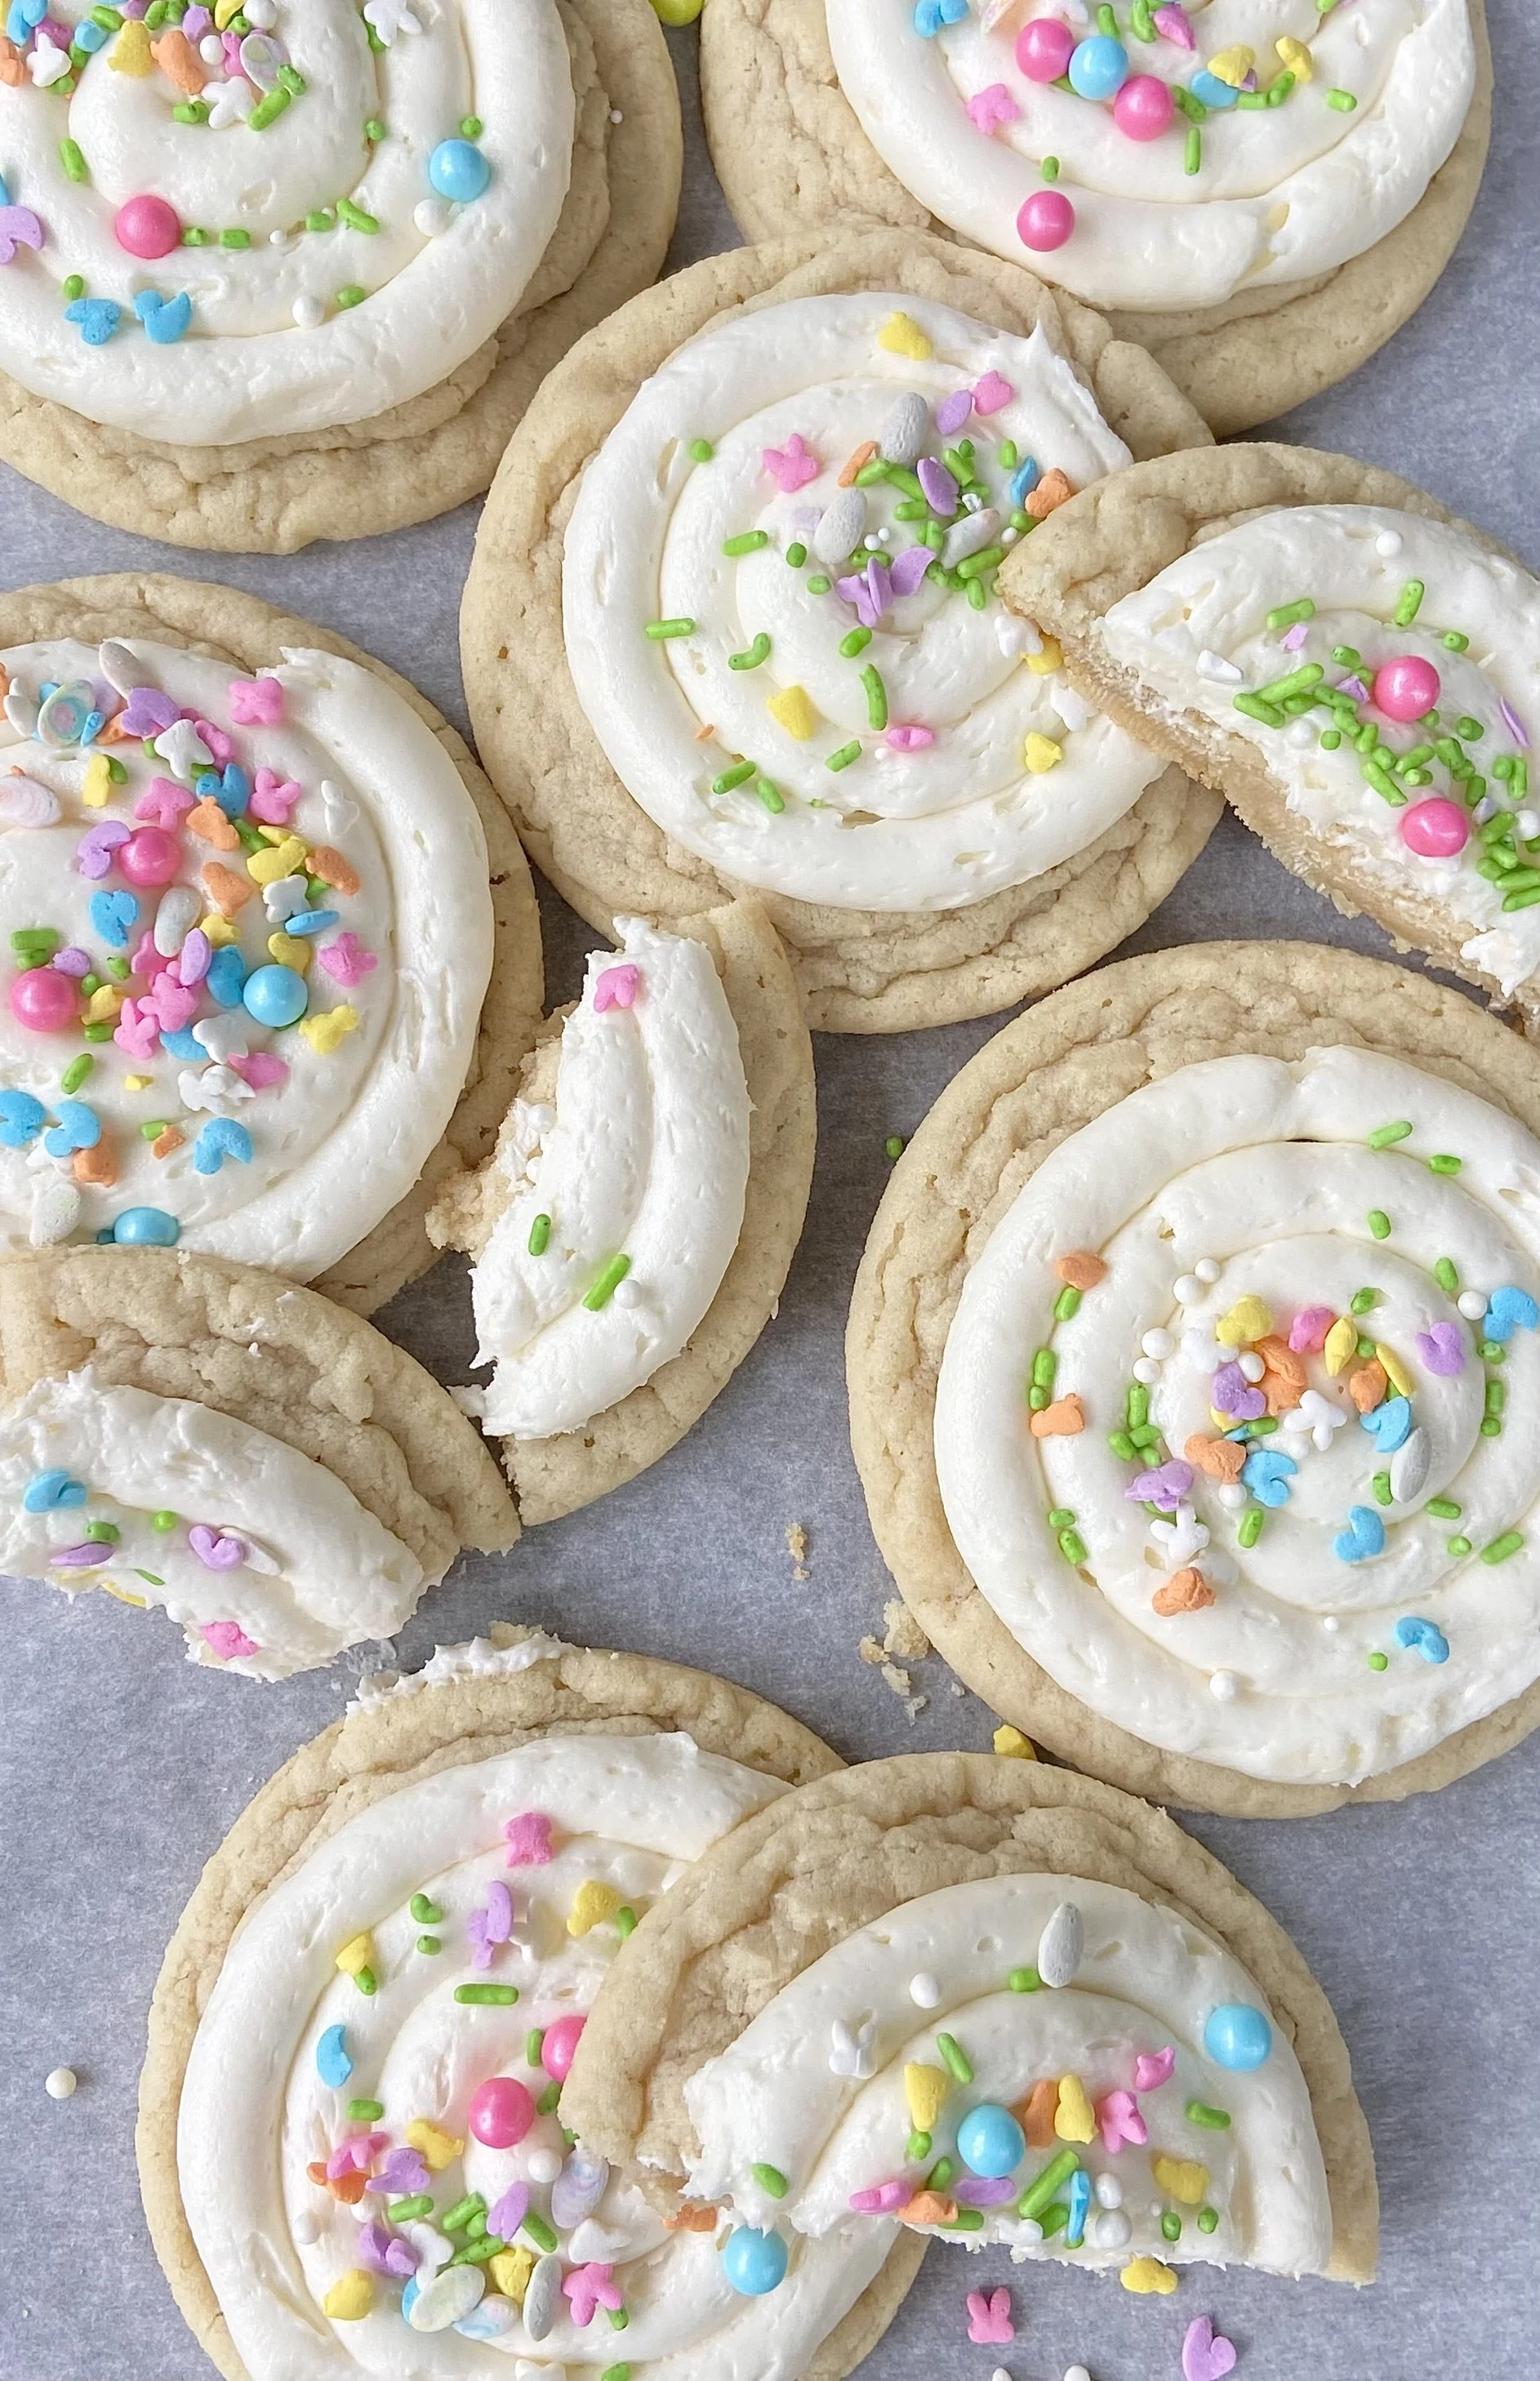
Easter Sugar Cookies

Easter Sugar Cookies
Scroll to find recipe and step by step instructions.
Servings Size:
makes approximately 10-12 cookies
Measurements In Cups:
Cookie Dough
1 cup butter
1 & 1/3 cup white granulated sugar
1 egg
2 tsp vanilla
2 & 1/4 cup all-purpose flour
1 tsp baking soda
1/2 tsp baking powder
1/4 tsp salt (optional if you used salted butter)
Frosting
1/2 cup butter
1/4 cup shortening (Crisco) (you can substitute with same measurement of butter)
3 cup powdered sugar
4 tbsp heavy cream (or 2 tbsp milk)
1 1/2 tsp vanilla extract
Topping
Easter sprinkles
Measurements in Grams:
Cookie Dough
225 grams butter
250 grams white granulated sugar
1 egg (60 grams)
4 grams vanilla
280 grams all-purpose flour
6 grams baking soda
2 grams baking powder
Frosting
115 grams butter
50 grams shortening (Crisco) (you can substitute with same measurement of butter)
360-400 grams powdered sugar
60 grams heavy cream (or 30 grams milk)
3 grams vanilla extract
Topping
Easter sprinkles
Why measure in grams?
If you ask any bakery how they measure, most will say they measure in grams. Measuring by weight is more reliable for desserts because some recipes don’t specify if you should pack your ingredients and do not take into account how different people measure their ingredients.
A common mistake people make in measuring ingredients is when measuring brown sugar. Brown sugar is clumpier than normal sugar because it is mixed with molasses. 100 grams of white sugar is equivalent to 100 grams of packed brown sugar—though most people don’t pack their brown sugar the same way, so you will most likely not get the same measurement unless using a scale.
Food scales are such an amazing and cheap investment to make for your kitchen because they will allow you to copy recipes perfectly because they are far more reliable and allow you to not use as many dishes! Click here to order a food scale!
Buttercream Frosting
I will always recommend using buttercream frosting because it always has a perfect consistency and is the most simple to make (if you follow the recipe and instructions correctly). However, the texture and consistency of your buttercream frosting depends on your environment. Your frosting will not hold a design very well in warmer environments. It is necessary to keep desserts with buttercream frosting chilled while you are storing them to avoid the frosting melted off of your dessert or becoming too soft—losing the design. You will lose your frosting swirl on top of your cookie if you leave it in heat for too long.
A way to avoid losing the design in the heat, whipping the butter for a longer amount of time (maybe 8-10 minutes) before you add any other ingredient may help stabilize it. Adding more powdered sugar or lessening the amount of heavy cream/milk substitute you use will also aid in this issue. Some buttercream recipes require more milk substances such as heavy cream to give it a fluffier texture. If this is the case and you want to put this dessert in a warmer environment for whatever reason, do not use this recipe for your buttercream or remove most of the liquid and replace it with more butter and powdered sugar.
A key factor to getting stable and airy buttercream that is not too dense is whipping your butter before adding any other ingredients. I always allow my butter to reach a white color and double in size before I add anything. This will allow your buttercream to be more airy without creating unnecessary air pockets.
Instructions:
Step 1
Preheat oven to convection 350 degrees fahrenheit.
Beat room temperature butter in stand mixer/by hand for 3-5 minutes (or until butter turns off-white).
Step 2
Add in white sugar. Beat the sugar with the butter until the mixture is fluffy (about 2 minutes).
Step 3
Add your egg and stir into mixture.
Mix in vanilla.
Step 4
Add flour, baking powder, baking soda, and salt to form your dough. If using a stand mixer, mix on low. If mixing by hand, use a spatula.
Step 5
Use a 1/3 cup scoop (or however much your heart desires) and place a single ball of dough on baking tray. THIS IS YOUR TEST COOKIE! Always start with baking a single cookie, to make sure you didn’t forget an ingredient and/or your oven isn’t too hot (some ovens have hot-spots or cook things quicker/slower than others). This is also a good indicator of how much your cookie will spread.
Step 6
After baking your test cookie, place cookie dough balls on your tray. Use your test cookie to estimate how many cookies you can fit on your tray. (I was able to fit 6 on my trays) (I also flattened my cookies a little)
Bake cookies for 11-13 minutes (for 1/3 cup scoop).
Step 7
For perfectly circular cookies, use a circular bowl/cup and swirl around your fresh cookie to make edges clean. Then let cookies sit on tray for about 10 minutes before removing.
Step 8
For frosting, beat butter and shortening together until mixture turns off-white.
Then add your powdered sugar until fully incorporated.
Lastly add your heavy cream and extracts. Whip the mixture to let the heavy cream fluffen your mixture. If you want, mix frosting with a spatula to take away some of the air bubbles (this will help you avoid air bubbles when piping it out)
Step 9
Frost your cookies and add sprinkles.
Put in fridge to store up to 10 days or leave at room temperature for up to a week!